
Do you remember when your toolbox was brand-new? The drawers slid in and out with such ease that you had to be careful to avoid sending tools flying across the room. Now the slides are so dirty you have to actually work to pull a drawer out.
It is normal for toolbox drawer slides to accumulate dirt. After all, you use your tools in dirty environments. The longer the slides go without being cleaned, the more dirt accumulates. Not cleaning them may eventually put you in a place of not being able to open the drawers.
You’ll be happy to know that cleaning toolbox drawer slides is incredibly easy, and it can be done in mere minutes. All you need are a few hand tools, a degreaser, and a foaming window cleaner. This post will describe everything in detail.
Key Takeaways
1. Cleaning toolbox drawer slides is crucial to prevent difficulties in opening and closing drawers.
2. Signs that your drawer slides need cleaning include difficulty opening, unusual noises, or visible dirt/rust.
3. Prioritize safety by removing tools and organizing them effectively before cleaning.
4. Use the right cleaning agents like degreasers, but be cautious of potential damage to the slides’ finish.
5. Eco-friendly alternatives like vinegar can effectively clean toolbox drawer slides.
6. Apply degreaser, use toothbrushes or cotton swabs for tight spaces, and repeat if necessary.
7. Deal with rust using fine steel wool or a wire brush.
8. Reassemble and lubricate the slides for smooth operation.
9. Reorganize and replenish your tools as necessary during the cleaning process.
10. Prioritize safety by grasping the drawers firmly and avoiding rush pulling or pushing.
Signs that Your Toolbox Drawer Slides Need Cleaning
Difficulty Opening and Closing
One of the most apparent signs that your toolbox drawer slides need a thorough cleaning is difficulty in opening and closing. Over time, a combination of dirt, dust, and grime can build up on the slides, adding friction and making it harder for the drawers to slide. If you notice that you’re having to exert more force than usual to access your tools, it’s time to give those slides a good cleaning.
Unusual Noises
Are your toolbox drawers making a squeaky sound, or producing a grinding noise when you pull them out or push them in? This is often an indication of debris caught in the slides. The noise is produced by the drawer rubbing against these particles. Even a tiny pebble can make your drawer sound like it’s ready to give up the ghost.
Visible Dirt or Rust
Sometimes, the signs are visible to the naked eye. If you spot dirt accumulation or rusty patches on the slides when you pull out the drawer, it’s a definite call to action. Keep in mind that rust can severely damage your slides over time, so it’s essential to clean and treat the rust as soon as you spot it.
Drawer Misalignment
Another sign might be a misaligned drawer. If your toolbox drawer doesn’t close properly or appears to be slanted, it might be due to a dirty slide impeding its proper movement. Cleaning the slides can often restore the alignment and make your toolbox functional again.
Regular maintenance can save you from dealing with stuck or damaged toolbox drawers. In the end, it’s far easier and more cost-effective to clean your toolbox drawer slides than to replace them entirely. So don’t ignore these signs – your toolbox will thank you for it.
Remove the Tools and Drawers
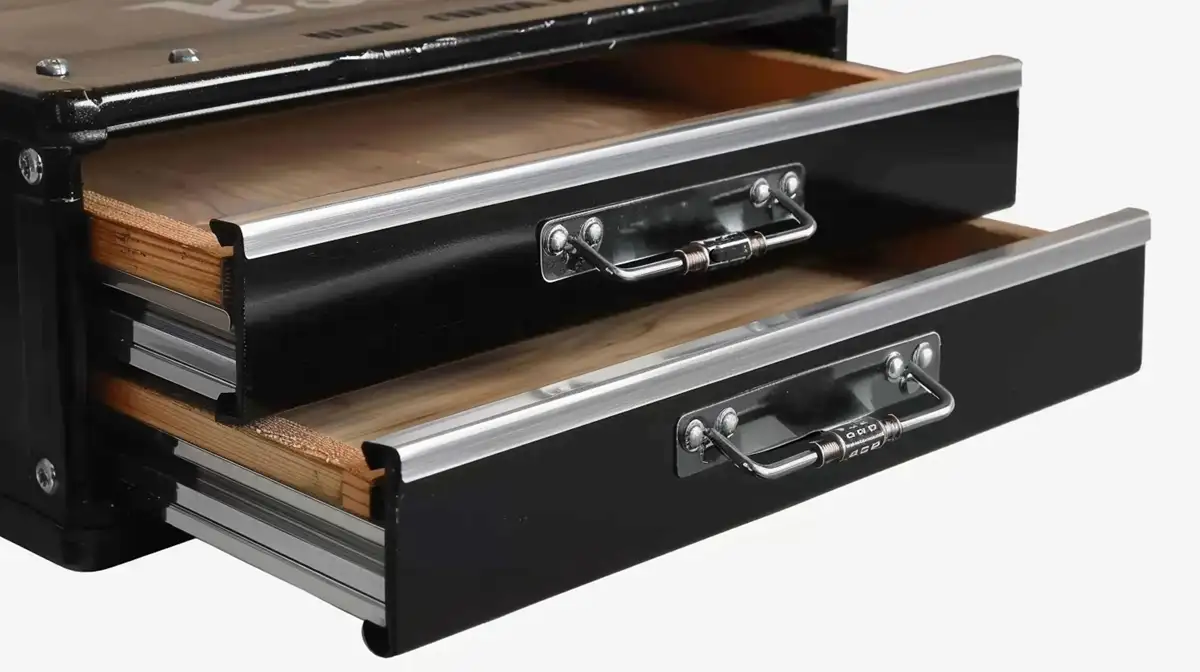
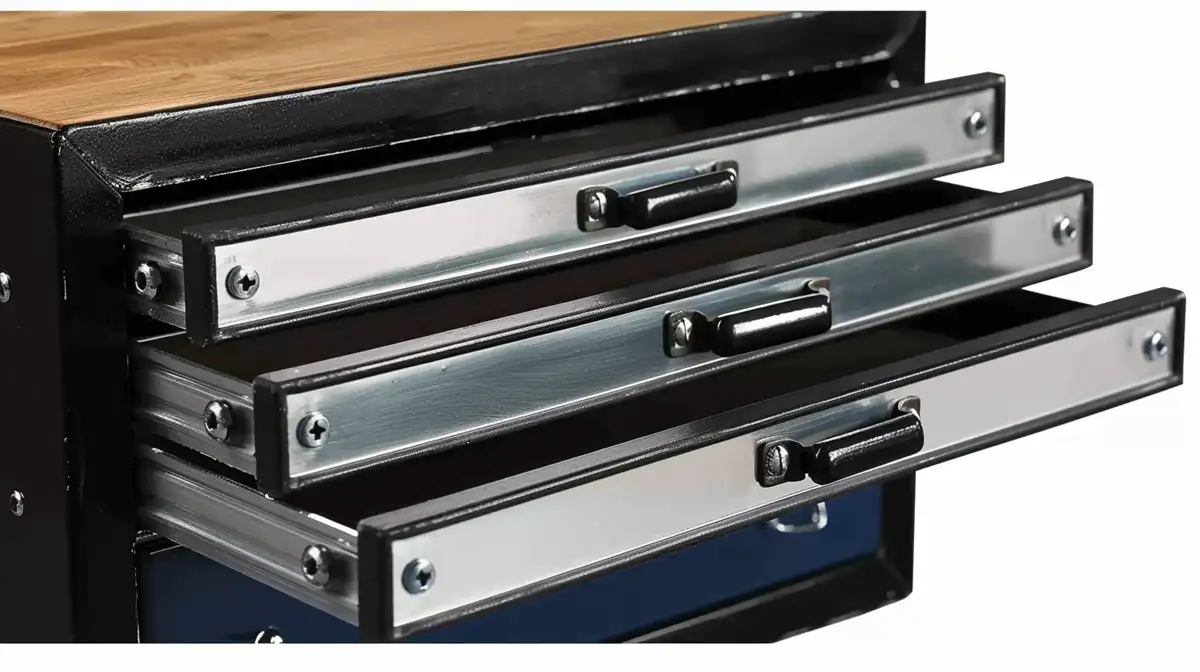
You are going to want to remove the drawers in order to gain complete access to the slides. Do yourself a favor and empty the drawers before removing them. Most toolbox drawers are secured to the rails with either screws, tabs, or clips. If yours are secured by screws, an easy way to keep track of said screws is to screw them back into the drawers after removal.
What you do next depends on the type of slides you are looking at. You may have a single piece slide held in place by a rail mounted to the inside of the toolbox. Or you might have a telescoping slide with multiple parts. Single-piece slides should be easy enough to remove. If you are working with a multi-piece slide, do your best to clean it without taking it apart. Just remove it from the toolbox and clean it as-is.
Safety Precautions While Removing Tools and Drawers
As you approach the task of cleaning your toolbox, prioritizing your safety is crucial. Keep in mind, a clutter-free workspace is a safer workspace. Before you even touch a drawer, ensure you have a dedicated area for setting aside the tools you’ll be removing. You wouldn’t want to trip over a wrench or stumble on a screwdriver that’s been carelessly placed on the floor.
Start by donning a pair of safety gloves. It might seem like an unnecessary measure, but remember, even a minor slip could lead to cuts or scrapes when dealing with metal drawers and tools. Plus, gloves will provide an added grip, making the removal process easier and safer.
Organizing Your Tools Effectively
Once you have your gloves on, it’s time to empty those drawers. As you remove your tools, take a moment to organize them by size or type. Not only does this keep your workspace neat and prevent accidents, but it also provides an excellent opportunity to inventory your tools. This way, you’ll know exactly what you have and what might need replacing. Furthermore, proper organization can prevent unnecessary damage to your tools.
Handling Drawers with Care
After you’ve emptied the toolbox, you’ll be dealing with the drawers themselves. Here, caution is key. Metal drawers can have sharp edges or corners, and mishandling could lead to injury. Always grasp the drawer firmly from both sides, and avoid rush pulling or pushing. Also, be cautious about any small parts, like screws or clips that may become loose during the process. They can become potential trip hazards or get lost, causing a headache when it’s time to reassemble your toolbox.
Safety should always be at the forefront of any maintenance task. By adhering to these precautions, you’re ensuring that your toolbox clean-up is efficient, effective, and most importantly, accident-free.
Choosing the Right Cleaning Agents
When it comes to cleaning your toolbox drawer slides, the selection of cleaning agents is paramount to ensure a thorough job without damaging the slides.
Degreasers
The most commonly used cleaning agent for toolbox drawer slides is a degreaser. There are different kinds of degreasers available in the market, from general-purpose household degreasers to industrial-strength ones.
Pros of Using Degreasers
Degreasers excel at breaking down grime, grease, and dirt, which tend to accumulate in the slides. They can penetrate into small crevices and tight spaces, loosening the stubborn dirt particles. This makes the cleaning process relatively easy and straightforward.
Cons of Using Degreasers
However, they also have some drawbacks. Certain degreasers might have strong chemical compositions that could potentially damage the finish of the slides over time. Also, some of them have potent odors which might not be pleasant to all users.
Foaming Window Cleaners
Foaming window cleaners are another great choice for cleaning toolbox drawer slides.
Pros of Using Foaming Window Cleaners
These cleaners are known for their ability to cut through grease and grime without leaving any residue. They can also be sprayed directly onto the slides, which adds to the convenience factor.
Cons of Using Foaming Window Cleaners
The downside of foaming window cleaners is that they may not be as effective on heavily greased or extremely dirty slides. In such cases, a degreaser would likely be a better first step before using the foaming window cleaner for a final clean.
Environmentally Friendly Cleaning Alternatives
In the pursuit of maintaining a clean toolbox, it’s equally important to consider the environmental impact of our cleaning habits. Traditional degreasers and cleaners, while effective, often contain harsh chemicals that can harm the environment. Fortunately, there are greener alternatives that are just as effective for cleaning toolbox drawer slides, and they also lessen the burden on our planet.
Vinegar
One notable eco-friendly cleaner is vinegar. Yes, the same vinegar you use in your kitchen! Not only is it biodegradable and safe, but it’s also a powerful cleaning agent. Mixing equal parts white vinegar and water creates a potent solution that can break down grime and grease with ease. Just spray the solution onto the slides, let it sit for a few minutes to do its magic, then scrub it off with a toothbrush or cloth. Rinse the slides with water afterwards and wipe them dry to prevent rusting. Remember to avoid using vinegar on certain materials, like marble and natural stone, as it can cause damage.
Baking Soda
Another promising alternative is baking soda, renowned for its cleaning properties. Create a paste using baking soda and a little water, then apply this paste on the slides and scrub using a toothbrush. This paste works particularly well on rust and stubborn dirt. Remember to rinse and dry the slides well after cleaning.
If the thought of DIY mixtures doesn’t appeal to you, there’s a range of commercially available eco-friendly cleaners and degreasers in the market. Look for ones that are biodegradable, non-toxic, and free from harsh chemicals like phosphates, bleach, and ammonia. These products will typically carry an ‘eco-friendly’, ‘green’, or ‘plant-based’ label.
When using any cleaning agent, always make sure to test a small, hidden area first to ensure it doesn’t cause any discoloration or damage. And regardless of the cleaning method chosen, it’s crucial to remember that effective cleaning doesn’t have to compromise environmental responsibility.
Decrease and Clean
Cleaning toolbox drawer slides is not a one-size-fits-all process. The type and amount of dirt and grease accumulated can vary. Therefore, a more thorough approach may be necessary for stubborn grime and rust.
Initially, you’ll want to use a rag to apply some degreaser to each of the slides. Ensure that the degreaser makes contact with the entire surface of the slides. This will start the process of loosening any grease and embedded grime.
Toothbrushes and Cotton Swabs
While a rag is effective for broader surfaces, it might not reach the crevices or tight corners. In such cases, a toothbrush or cotton swab becomes invaluable tools. They will allow you to work the degreaser into tight spaces effectively. Be meticulous in your cleaning, ensuring that no areas are overlooked.
After applying the degreaser, let it sit for a few minutes. The length of time may vary depending on the instructions provided by the degreaser manufacturer and the severity of the grime and grease. The goal is to allow the degreaser to soak in and break down the grime.
Once you’ve allowed it to soak, use a clean rag to wipe it all off. If the grime proves to be stubborn, don’t hesitate to repeat the process. You may need to apply the degreaser a few times to completely get rid of stubborn dirt and hardened grease.
Dealing with Rust
Next comes dealing with rust, if present. Rust can hinder the smooth operation of the slides, and therefore, should be dealt with accordingly. Use a fine steel wool or a wire brush to gently scrub the rusted areas. Be sure to do this carefully to avoid scratching or damaging the slides.
After you’ve tackled the rust, rinse the slides with warm water to remove any residual rust particles. Allow them to dry completely before proceeding, as any moisture left on the metal slides can lead to further rusting.
Foaming Window Cleaner
Once the slides are clean, it’s time to eliminate any remaining residue. This is where a foaming window cleaner comes in handy. The foaming action helps to lift any remaining residue. It’s recommended because it will not leave a film behind, which could otherwise attract more dirt and grime.
You can spray it directly onto the slides if you want. Let it foam for a few seconds and then wipe it off with a rag. Repeat this process until you’re satisfied with the cleanliness of the drawer slides.
This comprehensive cleaning process should help you get your toolbox drawer slides back to their optimal condition, ensuring smooth operation and longevity.
Put It Back Together
The final step for cleaning toolbox drawer slides is to put everything back together and apply a little bit of oil. Grease is often recommended for cabinetry, but I recommend not using it on toolboxes as it just attracts dirt and grime. Use a 3-in-1 oil or lubricating spray. Whatever you do, don’t apply too much oil or you’ll find that the slides attract dirt more quickly.
Also note that WD-40 is not a lubricant. It is a degreaser and water displacer. It might help the slides move back and forth initially but, within a couple of days, its lubricating effects will be all but gone.
As you reattach each drawer, move it in and out a few times to work in the oil. Make sure everything fits and works correctly. You may find that one or more slides needs a bit more oil after reattaching the drawer.
You should be able to clean each slide in a minute or two. In under an hour your toolbox should feel just like it did when you first brought it home. Drawers should slide out with very little effort, so be careful. Pull too hard and your tools could go flying.
Testing the Functionality of Cleaned Drawers
Once you have completed the steps of removing, cleaning, and reinstalling your toolbox drawers, it’s time to verify their functionality. Ensuring that your toolbox drawers operate smoothly is critical, not only for ease of use, but also to prevent any damage or unnecessary wear.
First, check the ease of motion. Try opening and closing each drawer multiple times. The drawer should slide smoothly without any hitches. If you find any drawer sticking or not moving as freely as it should, it might need a little more cleaning or lubrication. Also, take note of the level of effort needed to open and close the drawers. They should move with minimal force – an indicator that the cleaning has effectively removed dirt and grime, and that the lubrication is doing its job.
Secondly, listen for any unusual noises. Your ears can be just as useful as your hands in this process. As you slide each drawer in and out, listen carefully. Grinding, scraping, or squeaking noises can suggest that something is still not right. These sounds may indicate remaining dirt or that some parts might be rubbing against each other.
Finally, examine the alignment. Each drawer should sit flush with the frame of the toolbox when closed. If a drawer appears to be tilted or not closing fully, you may need to recheck the fitting of the drawer slides or the placement of the drawer itself. Misalignment can lead to difficulties in opening and closing, and in the long run, it could damage your toolbox.
With careful observation and a bit of patience, you can ensure your toolbox is in top condition, ready to serve you efficiently in all your future projects. Remember, a well-maintained toolbox is more than just a storage unit, it’s a reliable companion in all your creative and repair endeavors.
Maintenance Tips for Prolonged Efficiency
Keeping your toolbox functioning efficiently over a prolonged period isn’t a matter of magic; it requires consistent maintenance. In fact, many would argue that maintenance is just as important as the initial cleaning. Here are some simple yet effective tips that can keep your toolbox drawer slides running smoothly for years to come.
Regular Cleaning
As a rule of thumb, make it a point to clean your toolbox every few months, or even more frequently if your work environment is particularly dusty or grimy. Regular cleaning can prevent the accumulation of dirt and debris which can cause the slides to get stuck. Use a simple degreaser and a rag to wipe off any grease and dirt. Remember to follow up with a foaming window cleaner to remove any residue. This will ensure that the slides remain smooth and efficient.
Avoid Overloading
While it can be tempting to squeeze in as many tools as possible into each drawer, doing so can overburden the slides, leading to a decline in efficiency. Each drawer is designed to withstand a certain weight limit; exceeding this limit can cause the slides to wear out prematurely. Therefore, resist the urge to overload, and instead, distribute your tools evenly across all available drawers. If necessary, consider investing in additional tool storage to avoid overburdening your existing toolbox.
Regular Lubrication
Just like any other mechanical equipment, your toolbox drawer slides also need regular lubrication to function optimally. A quick application of the previously mentioned 3-in-1 oil or a silicone-based lubricant every few months can significantly enhance the life and smoothness of your slides. However, be careful not to apply too much, as this can attract dirt, leading to the exact issue you’re trying to prevent.
By incorporating these simple maintenance tips into your routine, you can extend the life of your toolbox and ensure the drawers continue to slide in and out smoothly, just as they did when they were brand new. Remember, a well-maintained toolbox not only lasts longer but also helps you work more efficiently by providing quick and hassle-free access to your tools.
How to Clean Toolbox Drawer Slides – Conclusion
Learning how to clean toolbox drawer slides is essential for maintaining smooth functionality and easy access to your tools. By regularly cleaning and removing dirt, dust, and grime from the slides, you can prevent difficulties in opening and closing the drawers. Degreasers and foaming window cleaners are effective tools to break down and remove accumulated grime. Additionally, environmentally friendly alternatives like vinegar and baking soda offer eco-conscious cleaning options. Whether you opt for commercial cleaners or DIY mixtures, ensuring a thorough cleaning and proper maintenance will keep your toolbox drawer slides in excellent working condition.


